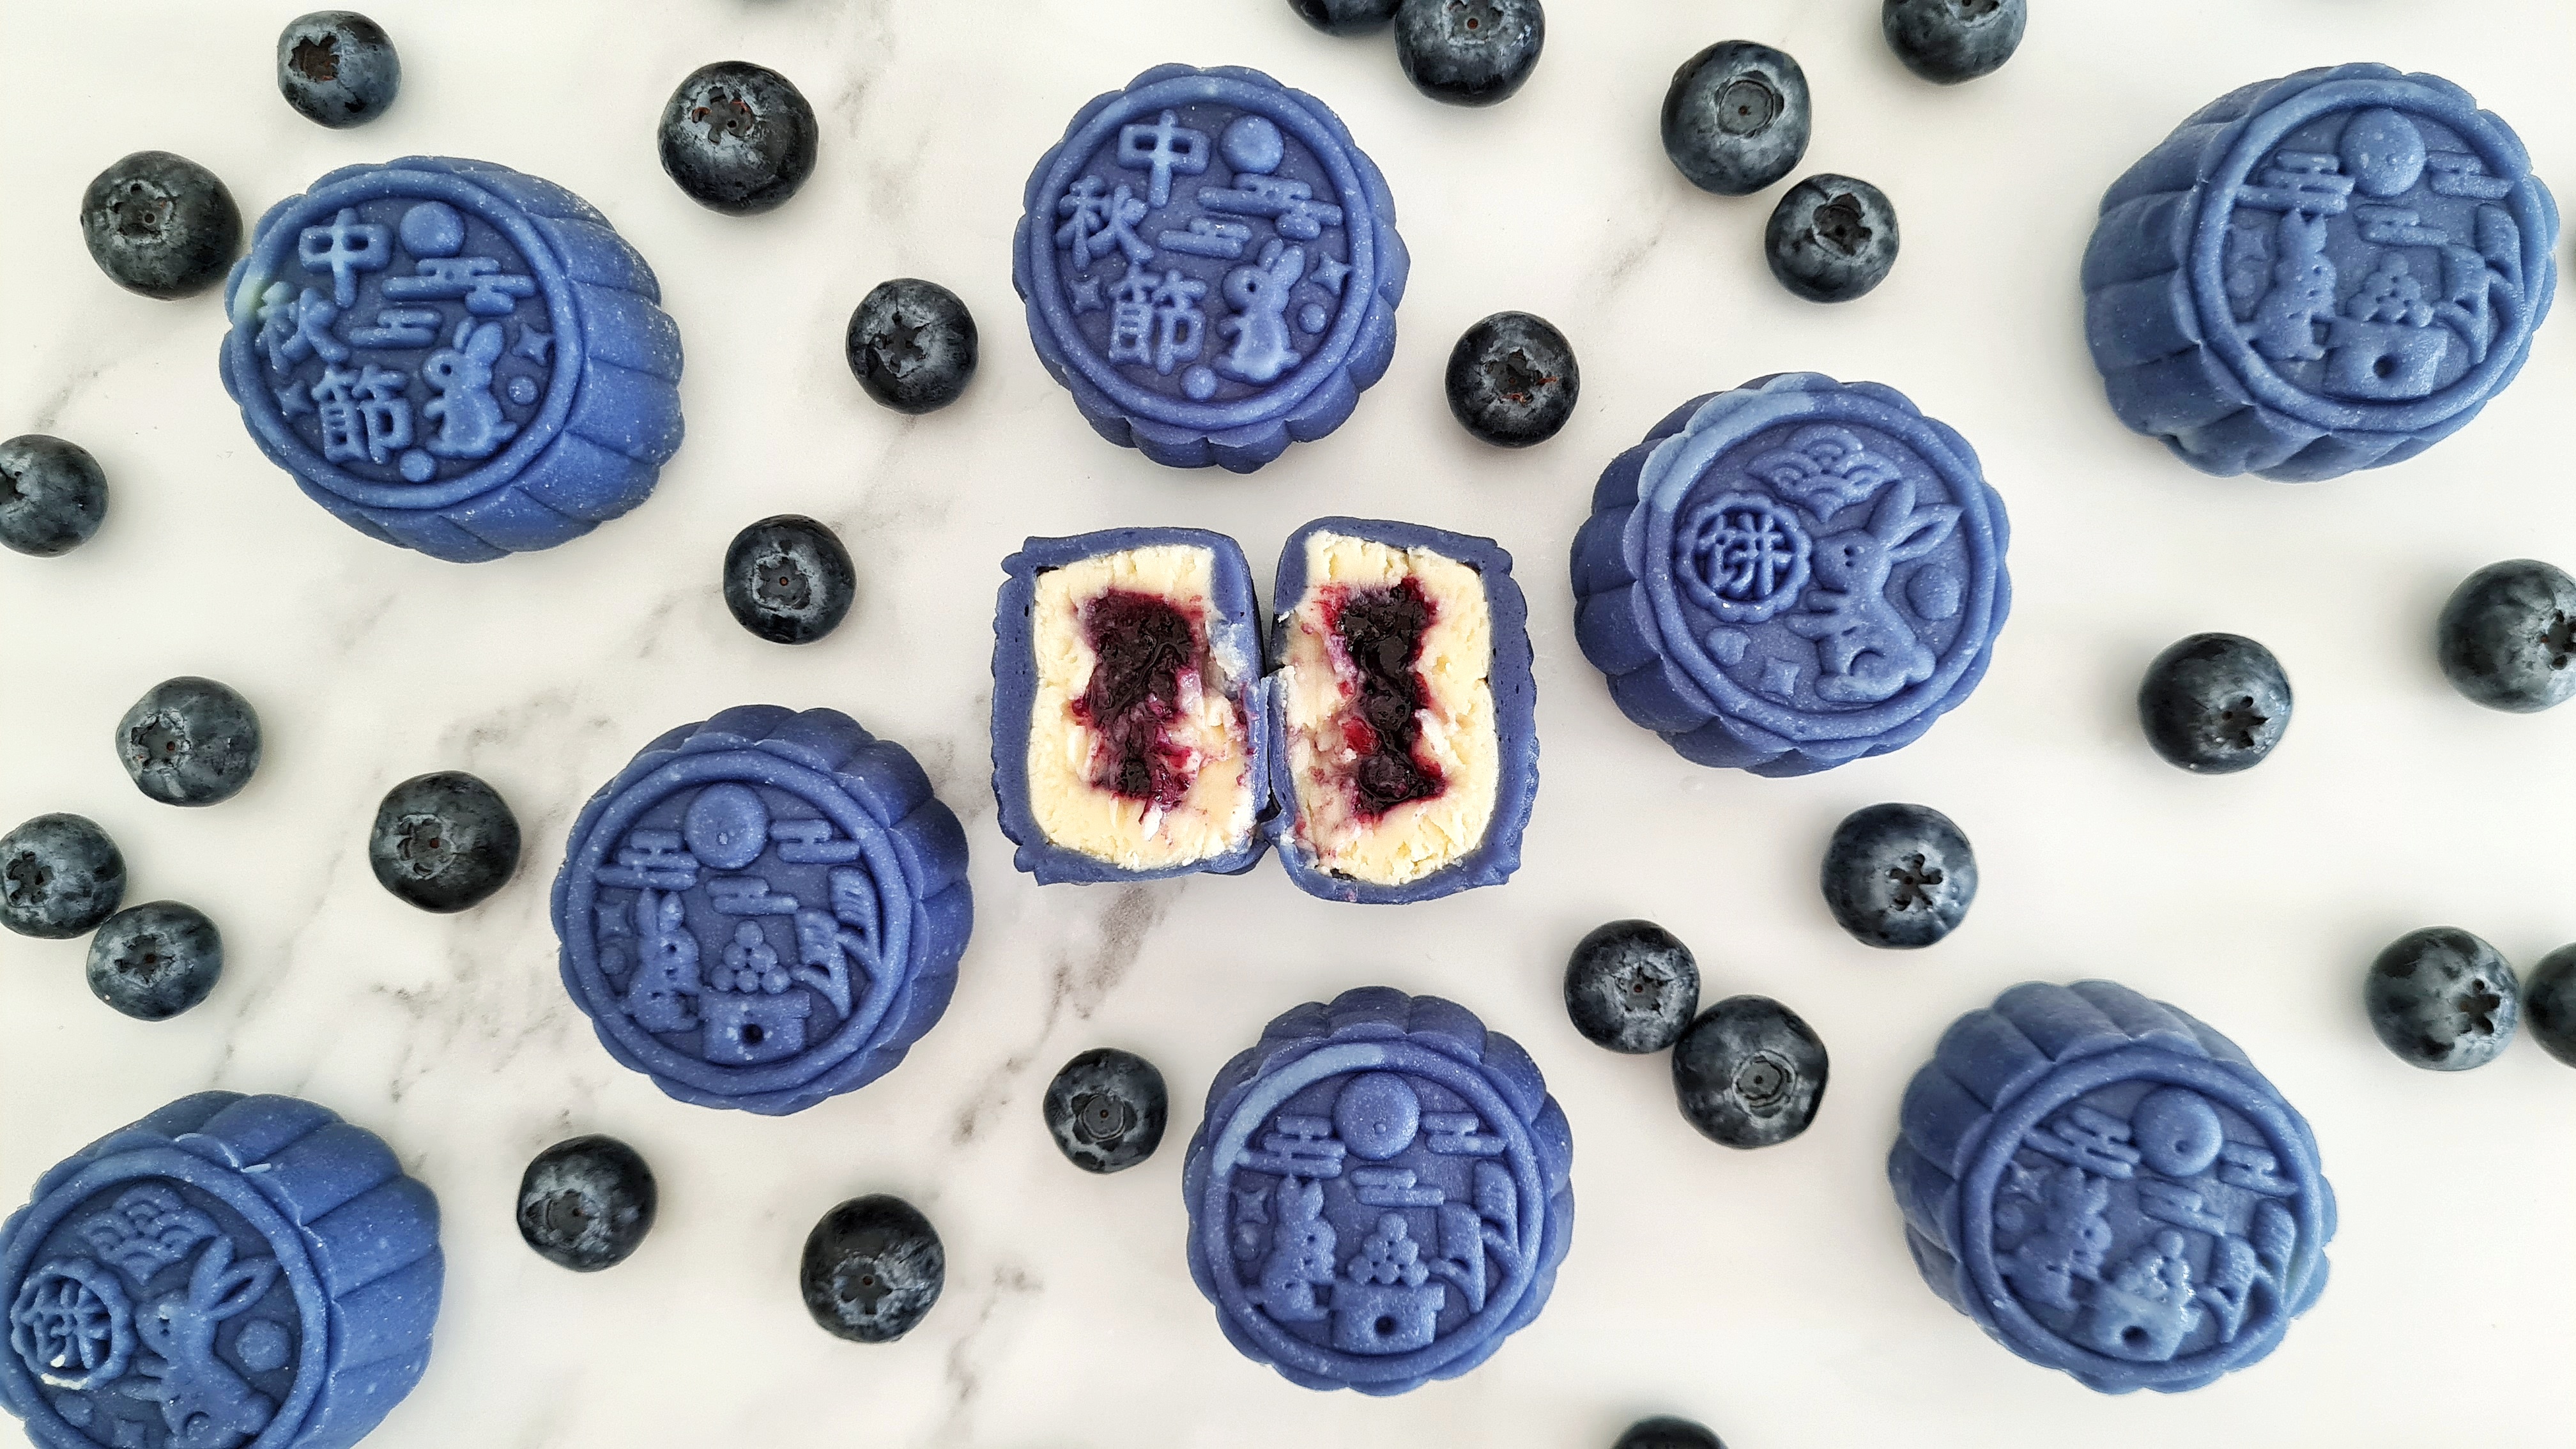
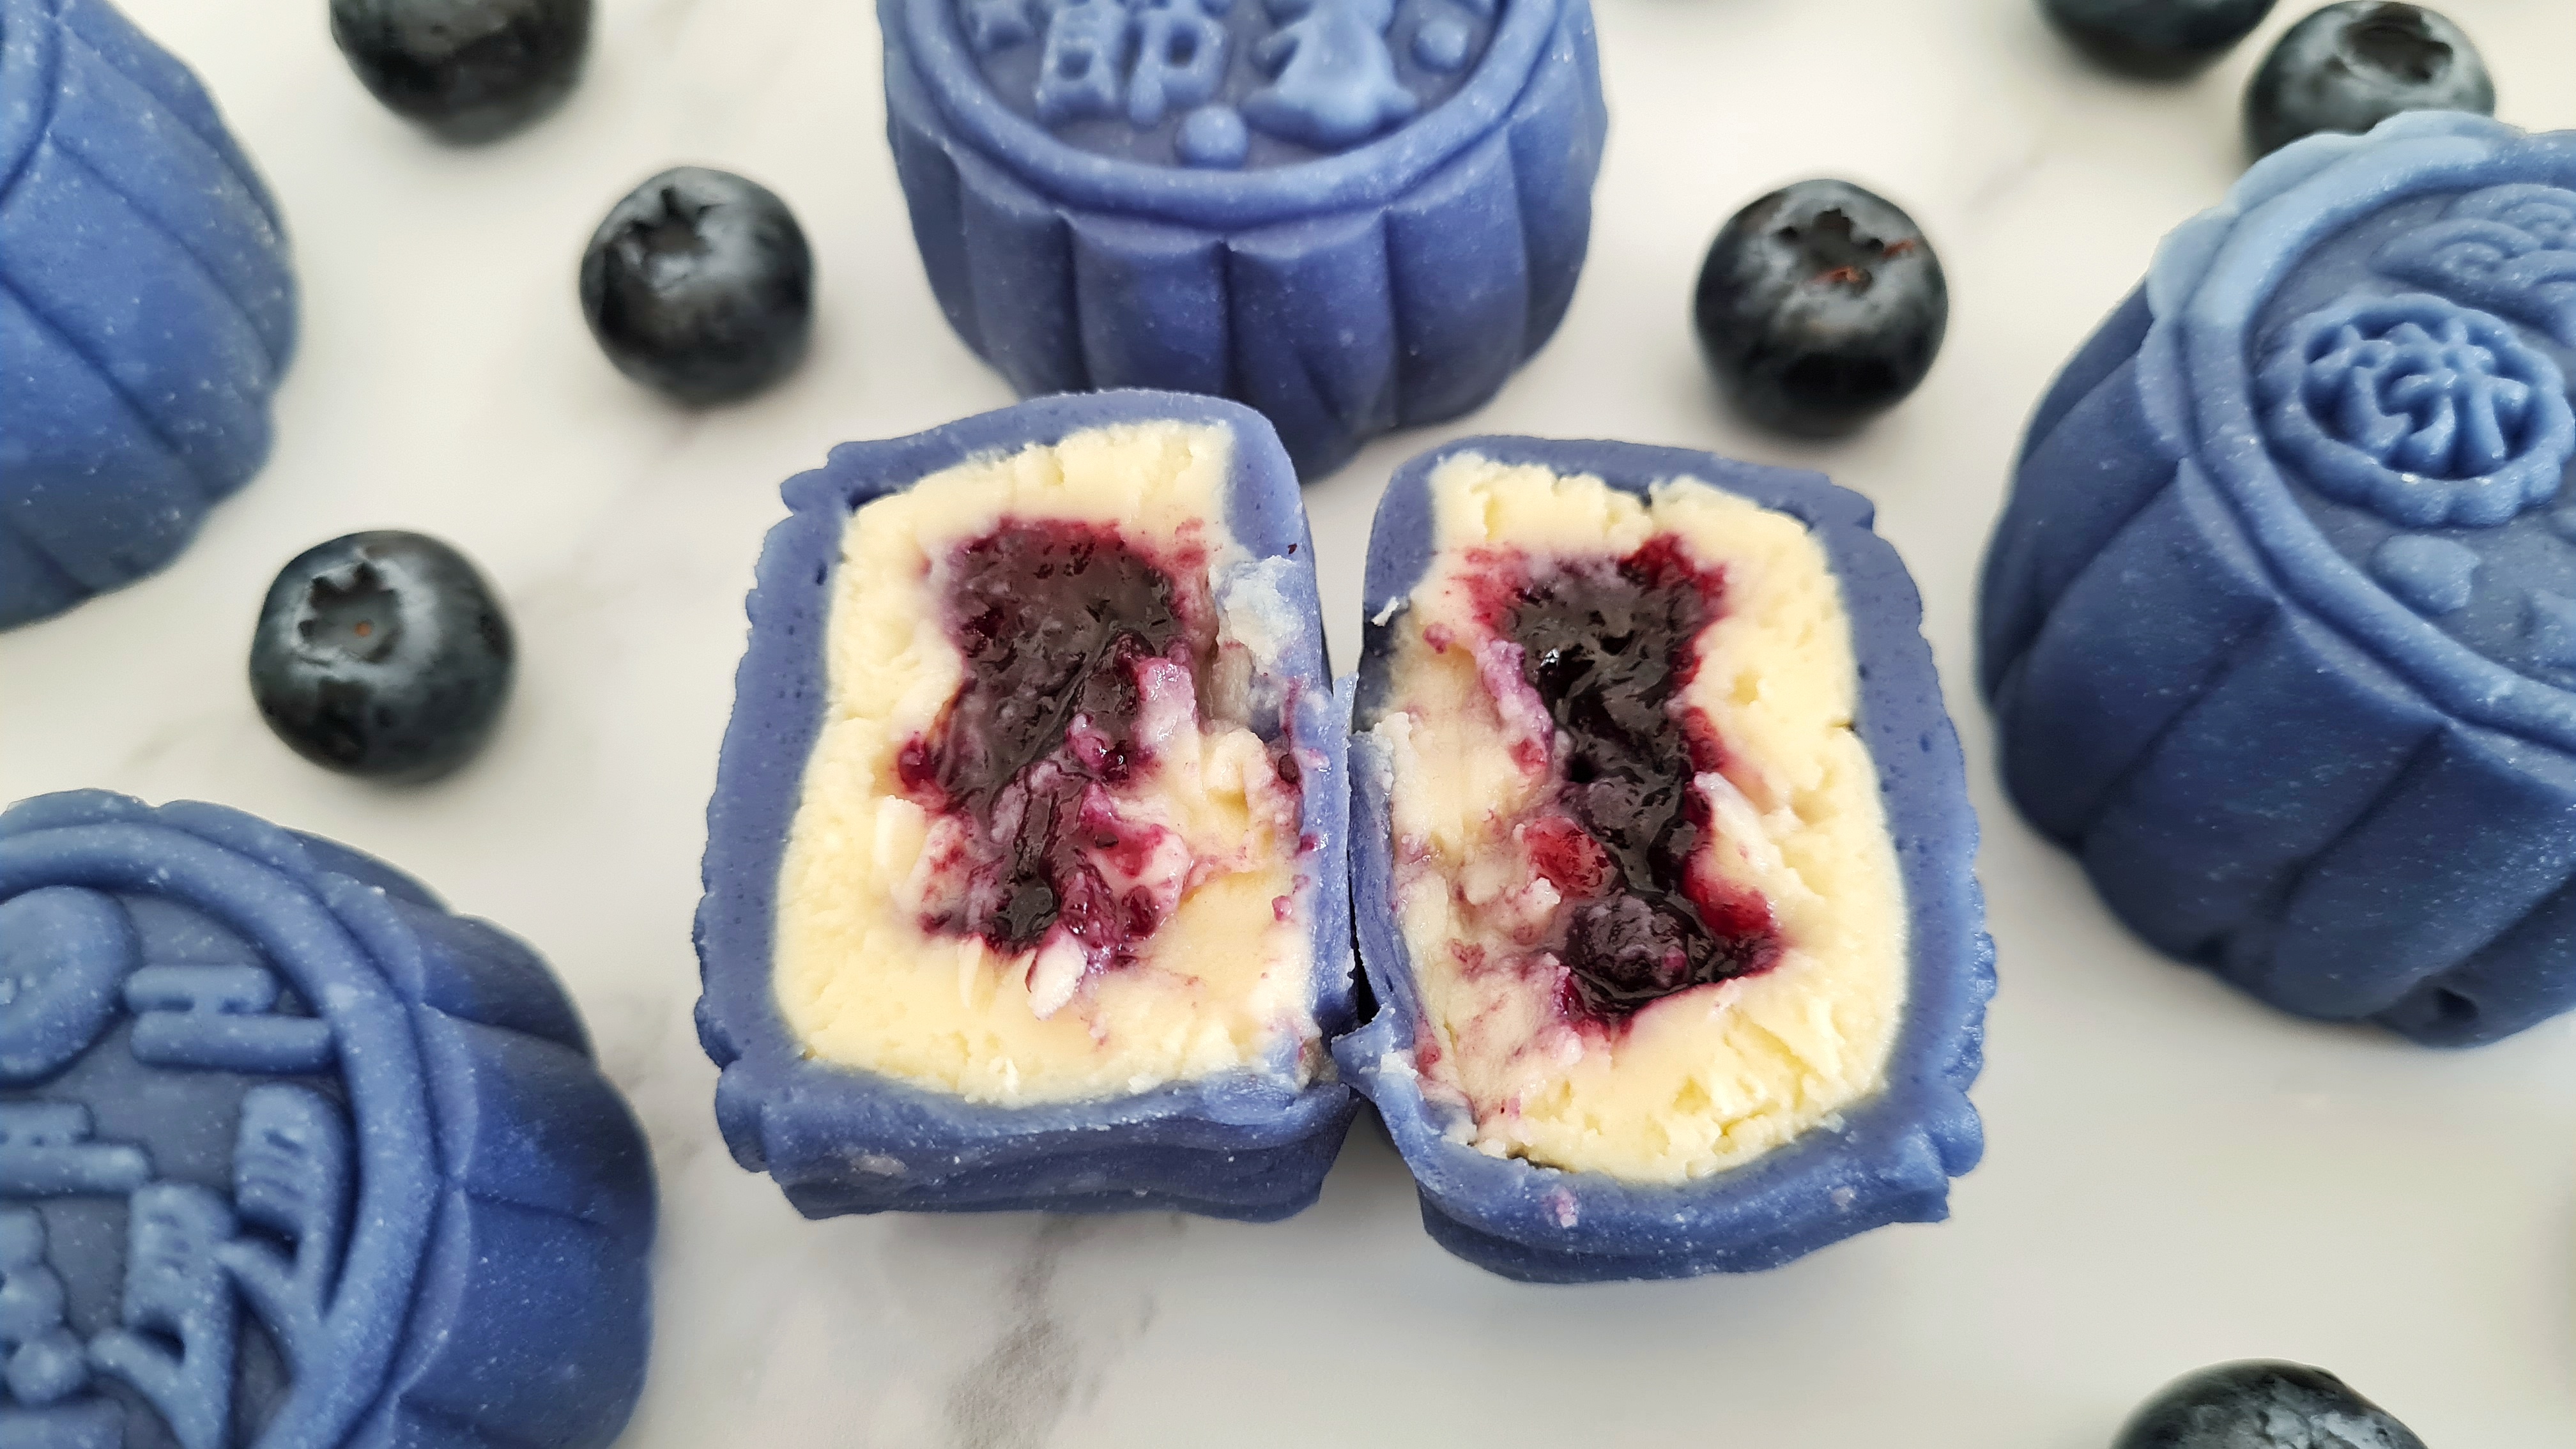
Snow Skin Blueberry Cheesecake Mooncakes Recipe
I created this snow skin blueberry cheesecake mooncakes recipe during a heatwave in the UK. I fancied making my baked blueberry cheesecake mooncakes with sesame pastry at the time, but it was just so darn hot, I couldn't bear the thought of switching the oven on. So I made this no-bake, snow skin mooncake version instead.
In my previous snow skin mooncake recipes, I use koh fun (cooked glutinous rice flour). In this recipe, I make a more mochi-like dough for the snow skin. Both are valid ways of making it, although the koh fun method is more traditional. In any case, both types of snow skin mooncake are delicious – just bear in mind that this type goes dry a few days earlier after making than the koh fun method. Which isn't a problem, because you'll want to eat these delicious cheesecake bites all up in one go anyway.
One word of warning though: don't actually make these during a heatwave. It was so hot in my kitchen – reaching 35°C – that it made life really difficult when handling the frozen and chilled fillings, which started to melt/go soft super fast. It was still doable, but I had to work fast and with light hands.
You can also watch me make these on my YouTube channel:
Ready? Let's go.
(Makes 12 x 50g-sized mini mooncakes.)
Ingredients for Filling:
12 x half-tsps blueberry jam
200g cream cheese
2 eggs
75g caster sugar
1tsp vanilla
2 tsp cornflour
2 tsp lemon juice
Ingredients for Snow Skin Dough:
35g glutinous rice flour
35g rice flour
25g cornflour
30g icing sugar
150ml milk
15g condensed milk
20g vegetable oil or melted vegetable shortening
A little food colouring (I used a few drops each of blue and purple)
Ingredients to Dust Mould:
A small bowl or plate of koh fun flour
Method:
1. Line a small baking tray with clingfilm, and dot 12 half-teaspoonful blobs of jam around so they don't touch each other. Put in the freezer overnight: this will make them a more firm gel, but may not completely freeze them like ice depending on what kind of jam you use. Mine didn't freeze solidly ice but that's fine.
2. Make the cheesecake by whisking all the ingredients together with a balloon whisk, pouring it into a greased pan and steaming it for 30–40 minutes or until very firm. Let it cool completely before popping in the fridge to chill overnight.
3. When chilled, stir the set cheesecake until it forms a sort of sticky dough. Divide into 12 portions, and roll into rough balls. Take one ball, flatten it out into a disc, and pop a frozen blob of jam in the middle. Close the cheesecake up around it like a dumpling, creating a stuffed ball, and set aside. Repeat for the rest of the mixture until you have 12 jam-filled balls of cheesecake. Pop back in the fridge.
4. To make the snow skin dough, mix all the dry ingredients into a bowl, and gradually whisk in the wet ingredients (starting with the milk), taking care not to make lumps. Pass through a sieve, making sure to mash any lumps of flour down so it evenly mixes into the liquid. Add the food colouring last – just a few drops will do, especially if you're using paste or gel food colouring.
5. Pour into another greased pan and steam for 30–40 minutes until dark, translucent and completely set. Remove from the heat, and wait for about five minutes until it's warm but cool enough to handle – at this stage, pop it into a bowl and knead until smooth with your hands (you'll probably want to wear lightly-oiled food-safe gloves as it's quite sticky at first).
6. Divide into 12 portions, rolling each up into a ball. Flatten each out into a disc, pop a blueberry jam-stuffed cheesecake ball in the middle. Close the snow skin dough around the cheesecake ball, pinching it shut and rolling up. Lightly dust with your koh fun flour, and press seam-side-down with a 50g mini mooncake mould to shape. Repeat with all of your filling and snow skin dough until they're used up, then serve immediately or cover and chill until ready to eat (but not for more than a day or two, as the dough starts to dry out).
Enjoy, and have fun.


Comments
Post a Comment