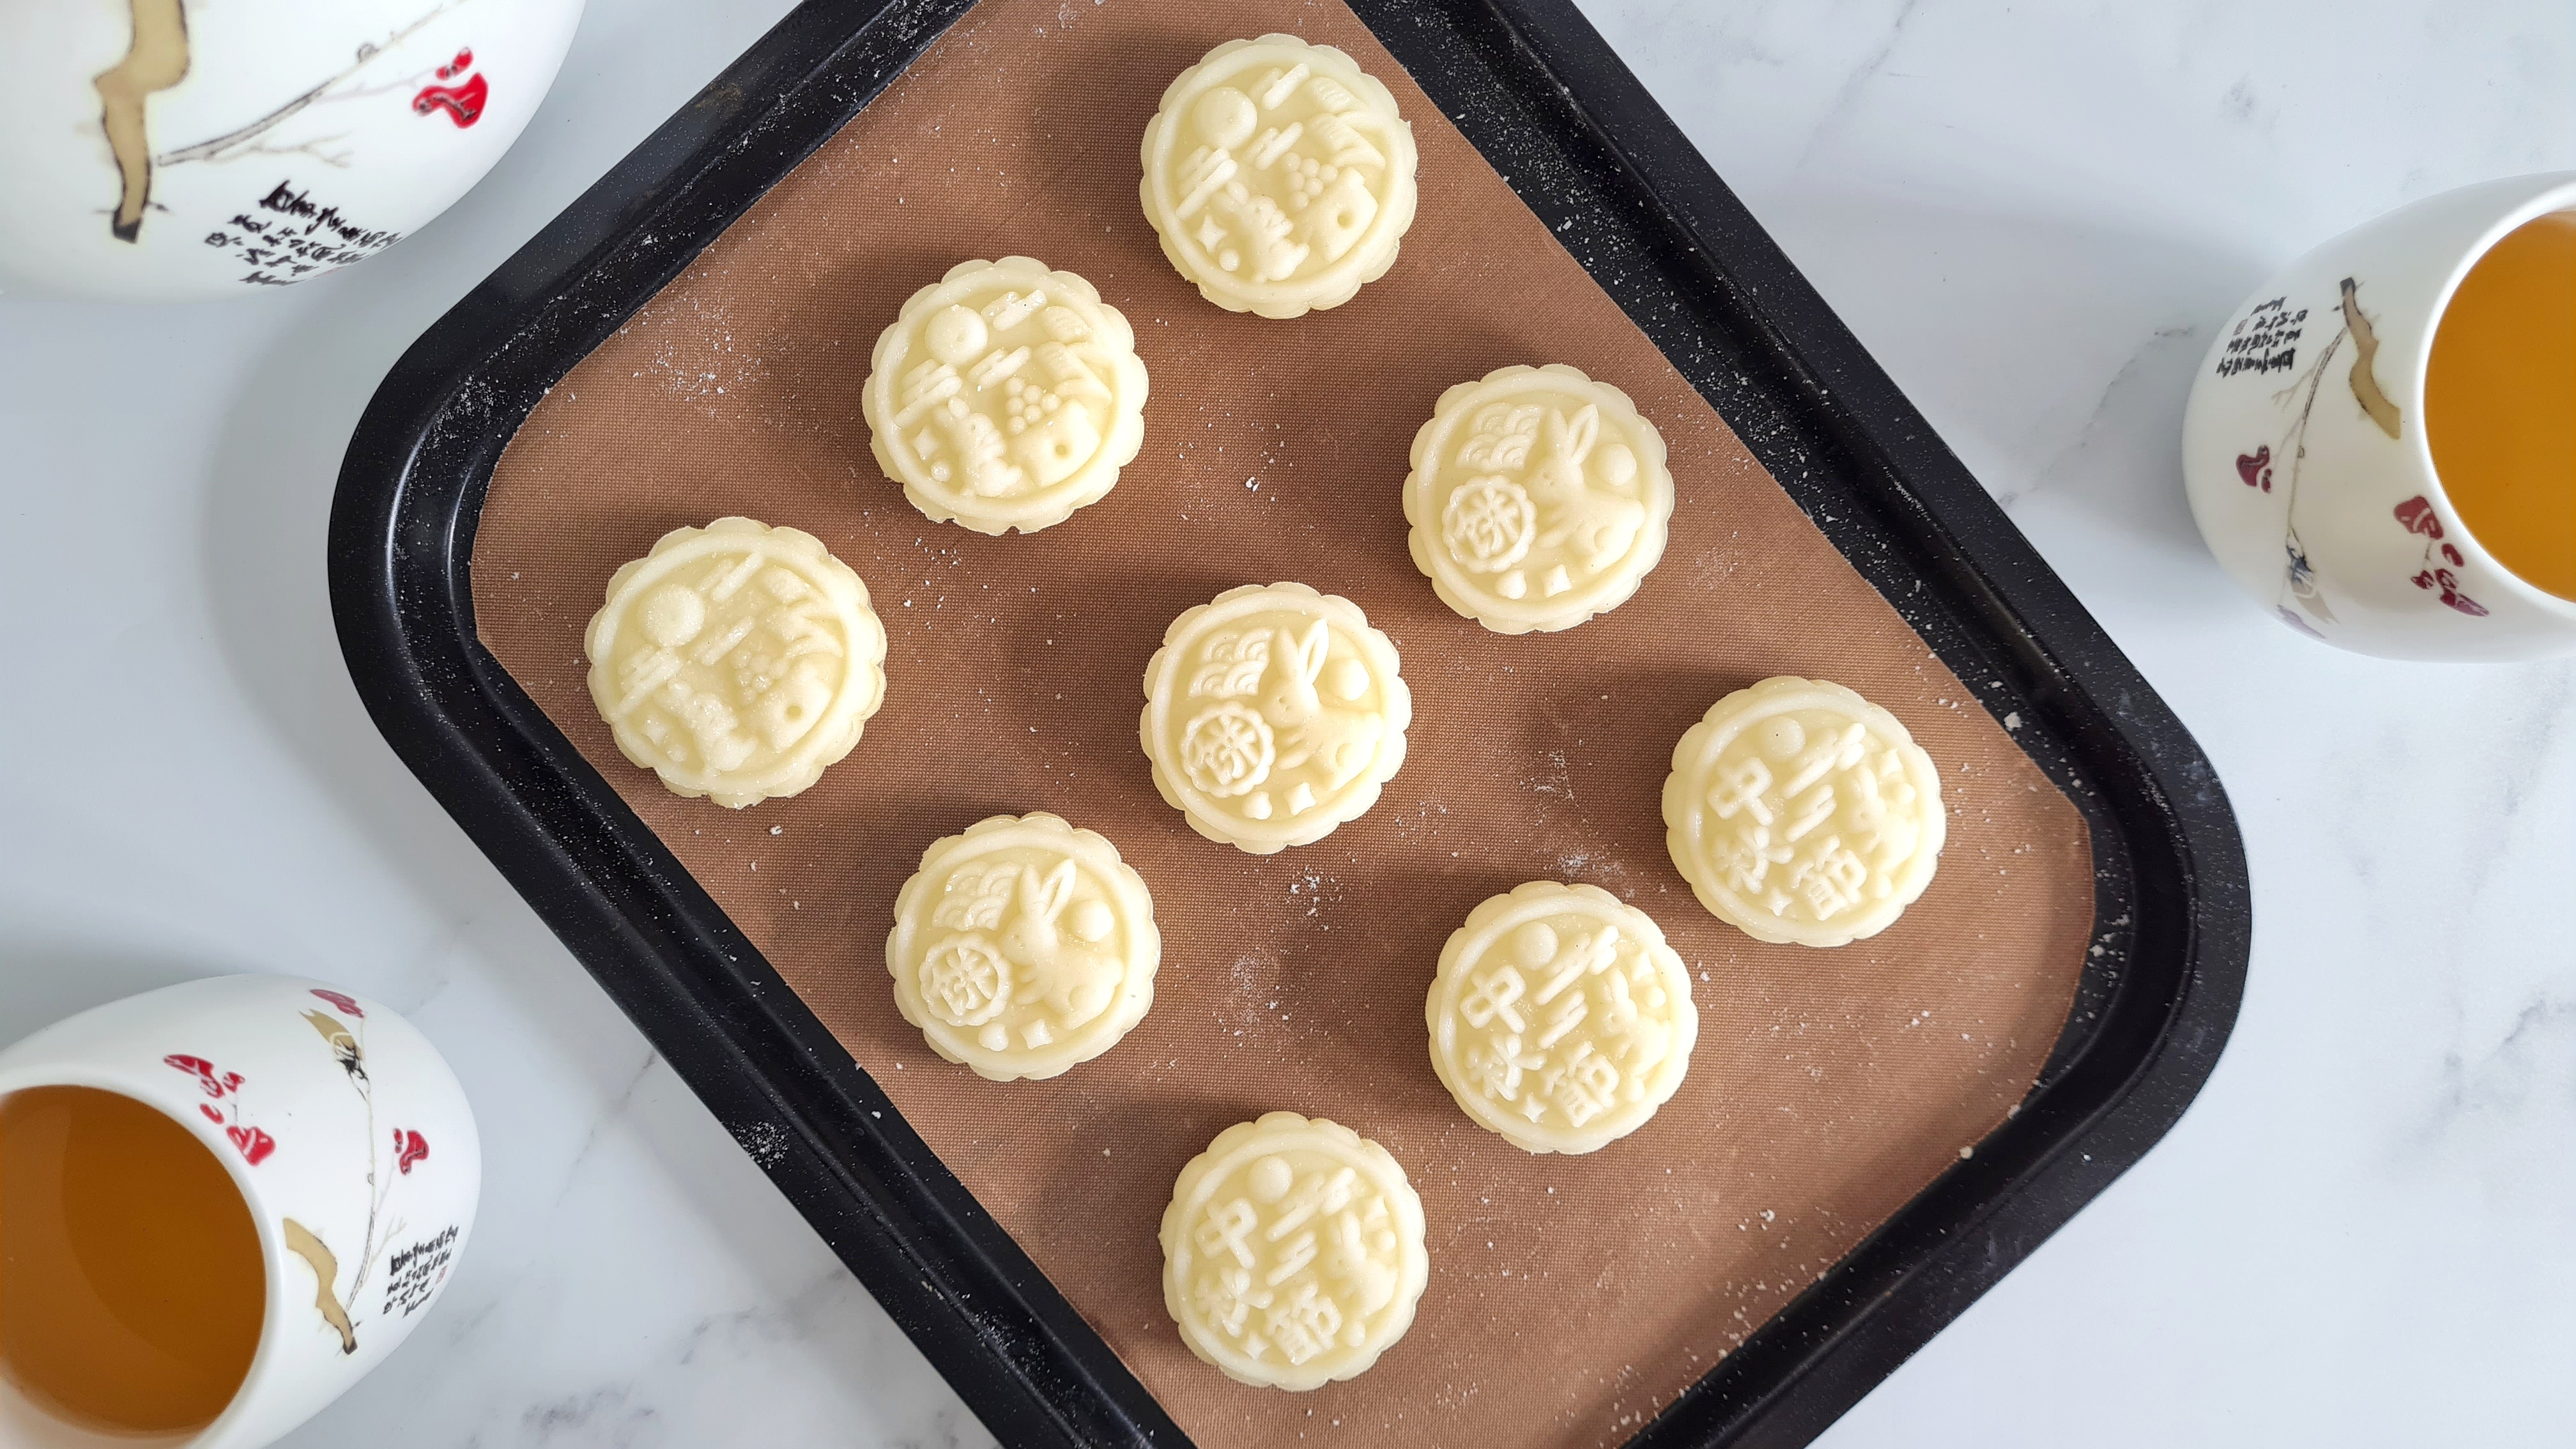
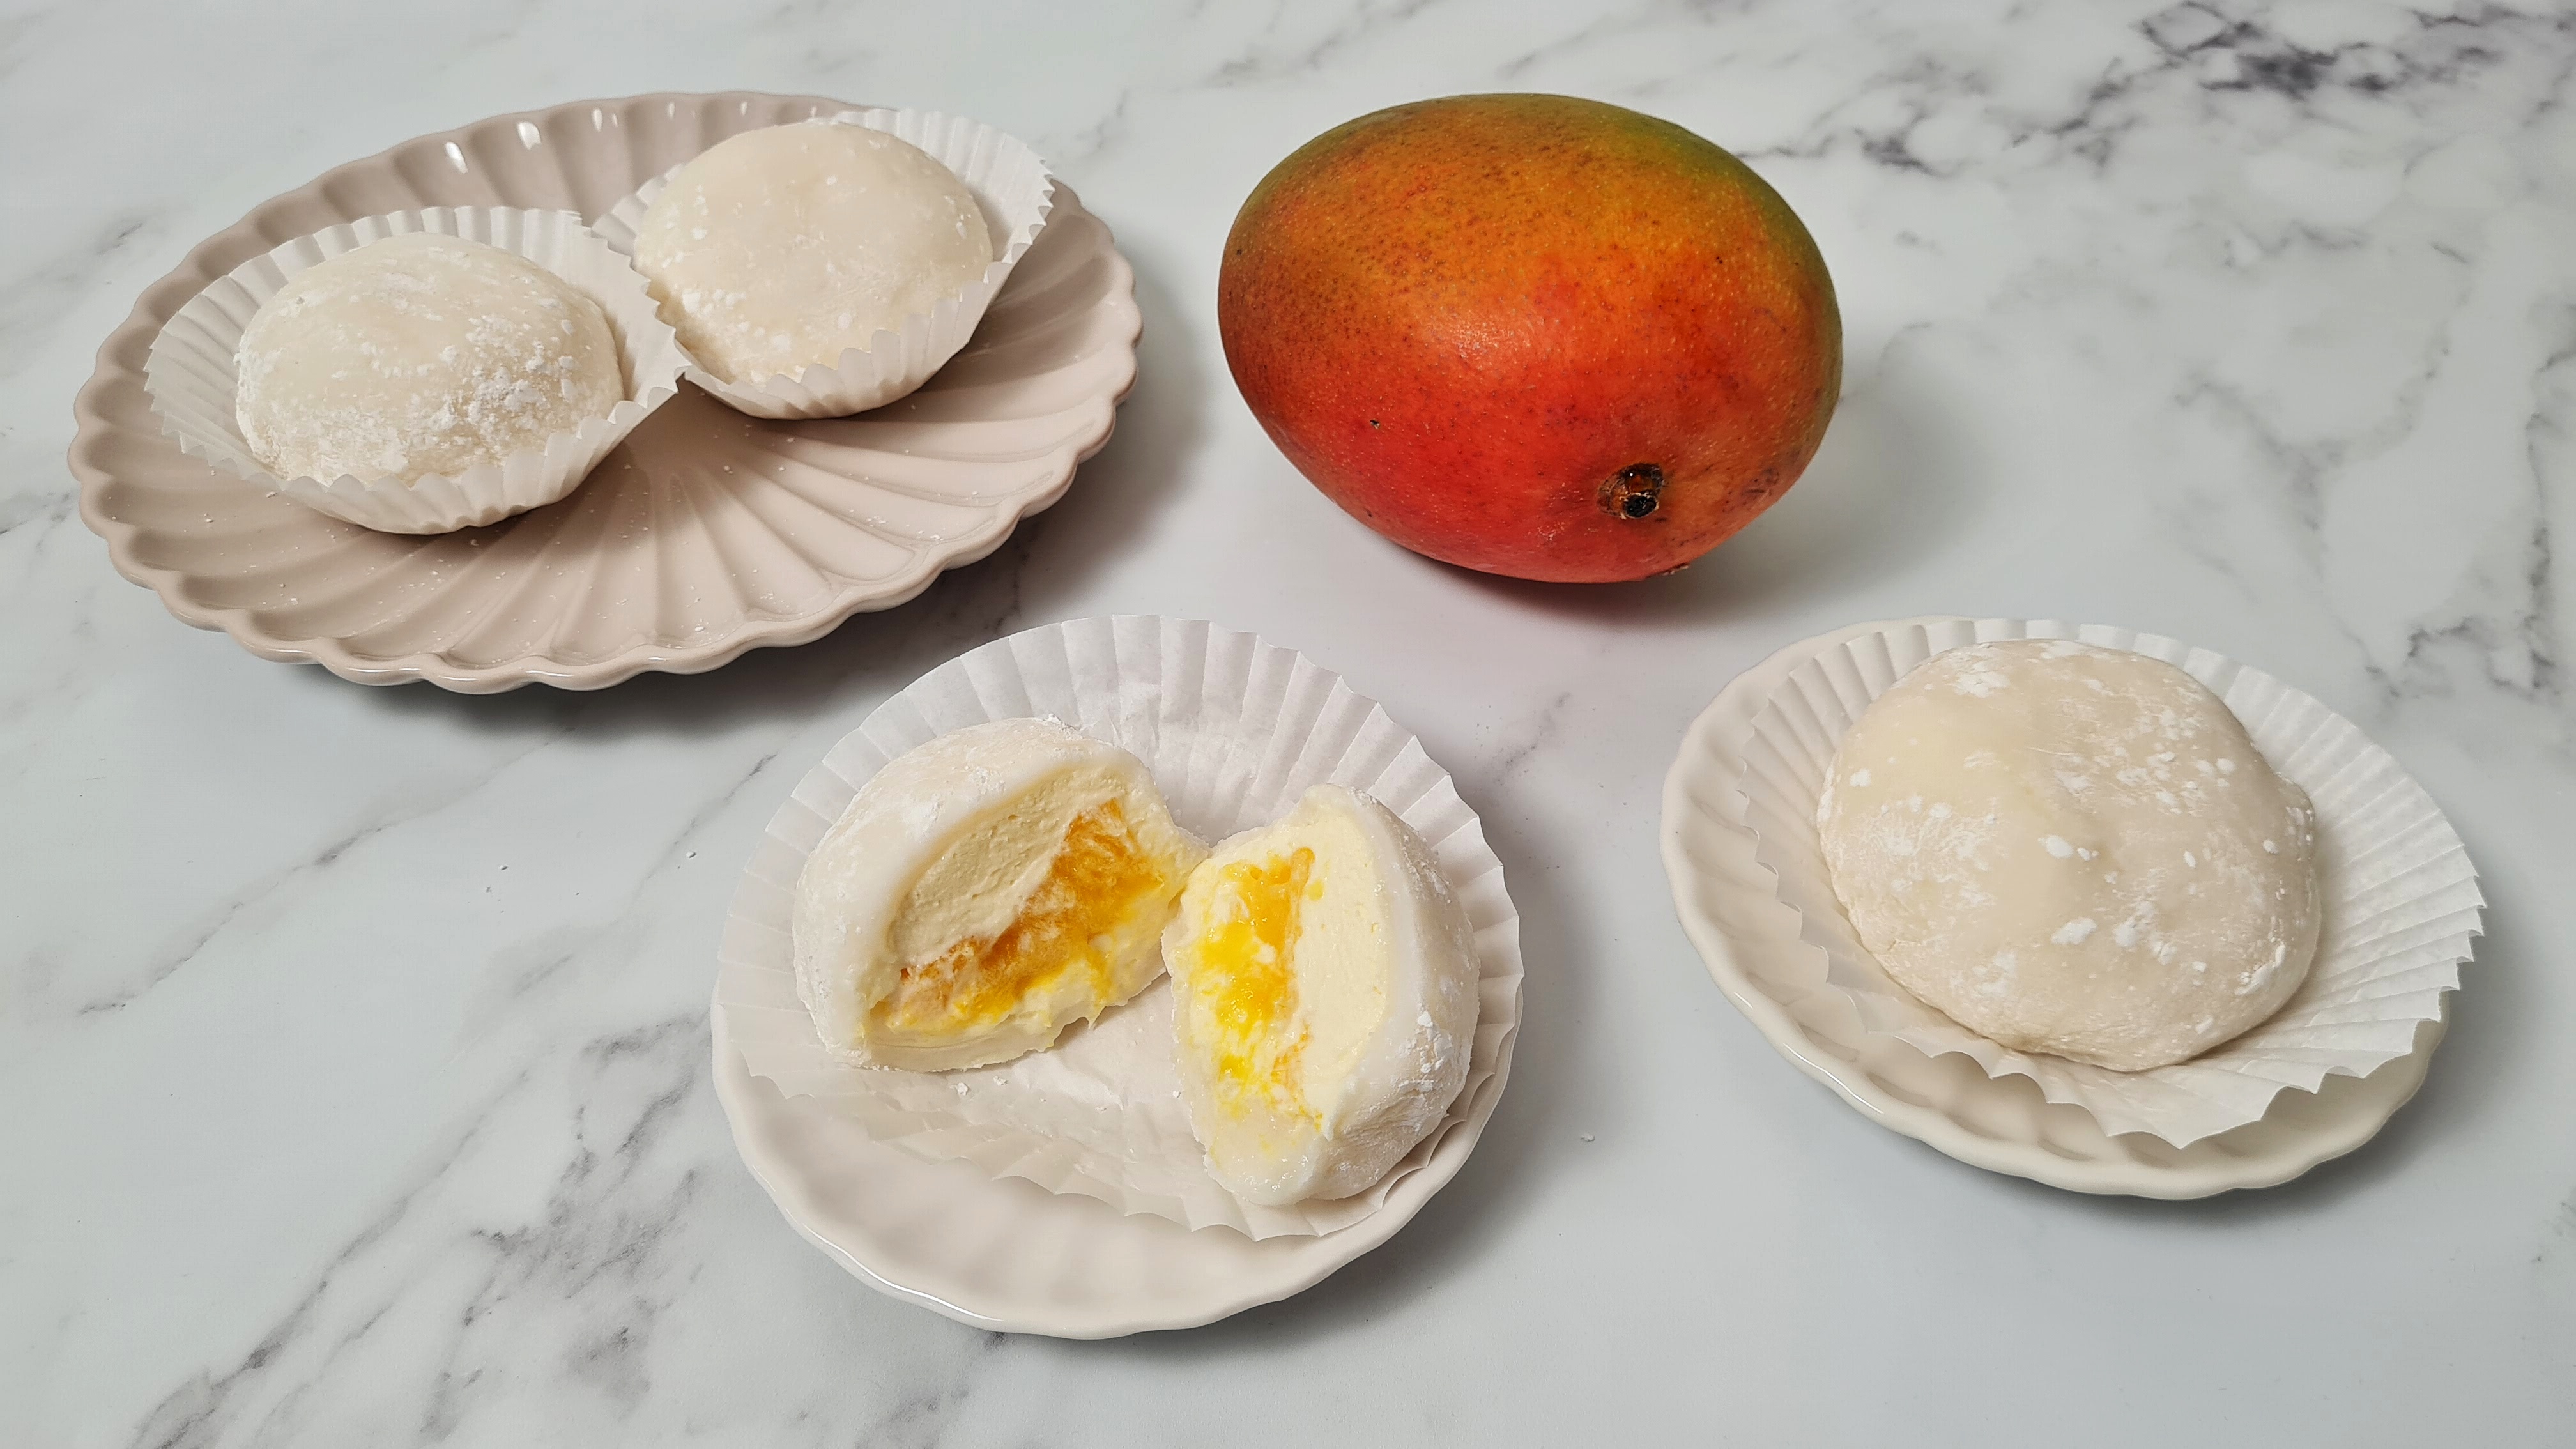
Snow Skin Milk Mochi Mooncakes Recipe
My snow skin mochi mooncakes were the result of an utter disaster with some filling I originally tried to make. But it turns out that snow skin dough is, itself, utterly delicious.
The original plan with my snow skin mochi mooncakes wasn't to have them plain, but to actually stuff them with ice cream. The only problem is, despite using a good quality, thick ice cream, it melted too fast to be able to stuff inside snow skin dough. I tried pre-shaping the ice cream and freezing it overnight, and then only taking one ice cream ball out one at a time, but nothing worked: the ice cream melted in literally seconds into a dripping mess.
But when I bit into the messy remains of one of my failed ice cream experiments, I realised that the 'skin' is essentially just an enriched sticky rice cake. And that it was super tasty by itself. So I turned the rest of the dough into mochi-like snacks.
The difference between snow skin mooncake dough and regular mochi is that mochi is often just water and glutinous rice with a little sugar. But snow skin dough is a mixture of different flours, giving it a much softer, almost melt-in-the-mouth texture, and is enriched with milk and fat of some kind (in this case vegetable oil). Absolutely delicious.
You can also watch me make these on YouTube:
Ready? Let's go.
(Makes 12.)
Ingredients:
35g glutinous rice flour
35g rice flour
25g cornflour
30g icing sugar
150ml milk
15g condensed milk
20g vegetable oil
To Dust:
Koh fun (cooked rice) flour
Method:
1. Mix the glutinous rice flour, rice flour, cornflour and icing sugar together in a bowl.
2. Gradually stir in the milk so that there are no lumps. (If there are, strain through a sieve and push the lumps through).
3. Stir in the condensed milk and vegetable oil.
4. Pour into a lightly-oiled heatproof shallow bowl, and steam on a medium to high heat for 40 minutes.
5. Cool for 5–10 minutes, and, while still very warm, dump out into a bowl, including any oil left in the pan, and knead with your hands until smooth (wearing food-safe gloves makes this less messy).
6. Divide into 12 25g-ish pieces and roll into balls.
7. Put a little koh fun flour in a small bowl, roll each ball lightly in it, and press each ball in a 50g-sized mooncake mould.
8. Eat straight away, or cover with clingfilm and store in the fridge for up to a week.
Enjoy, and have fun.


This maybe too much effort but i wonder if you put a block of dry ice down on a cookie tray and a sheet of parchment on top and set the ice cream balls on top if theyd get hard enough. Also did you try using tongs and not your hands to place them?
ReplyDelete